Incident Basics
Everything configured in your Ready Five account is ultimately in place to prepare for effectively handling incidents.
An incident is an occurrence in your account that requires a person's attention.
Since incidents can happen at any moment, it's important that each team has properly configured their escalation policies and schedules and that each person has setup their personal notification settings.
Incidents can be created automatically via integration alerts or they can be created manually by any user in the account. Manually configured incidents can be created by anyone and assigned to one or more individuals or team escalation policies within the account. Incidents created by integration alerts are assigned to an escalation policy or member of that team based on the integration settings.
Respond to an incident
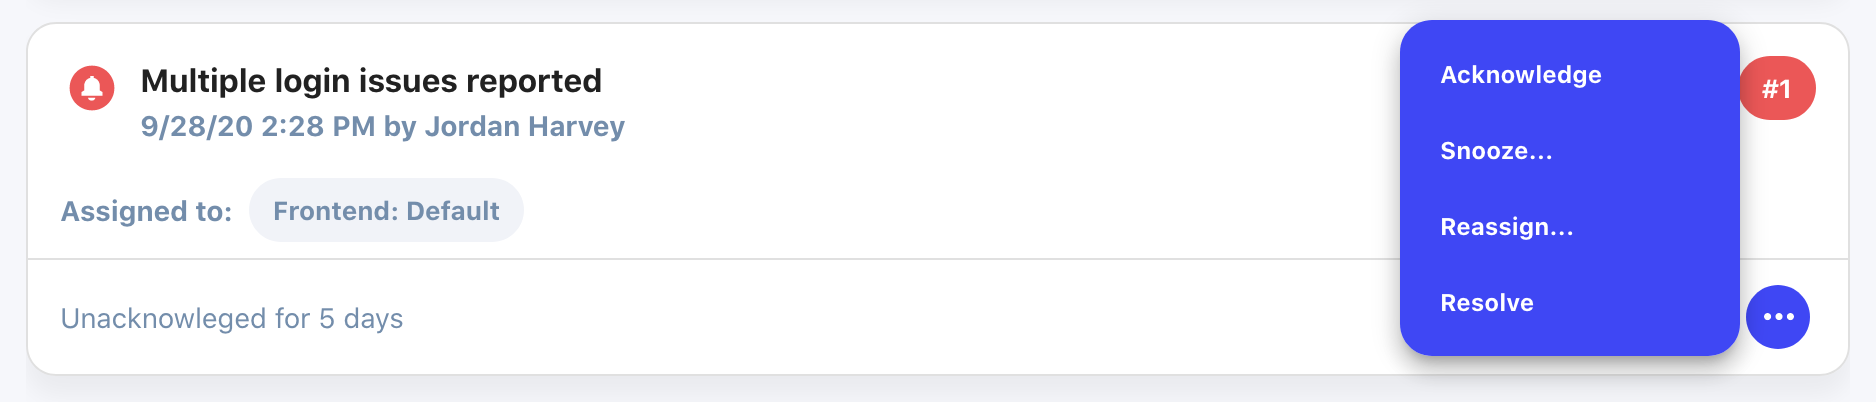
If you are notified about an incident, there are a few actions you can take to respond.
Do nothing
Not exactly what we had in mind, but it's an option to take no action. If you are notified about an incident and you don't respond, we'll follow the timing rules and take the actions specified in the escalation policy as well as your personal notification settings until there are no more steps to take.
Once there are no more steps in the escalation policy and no more steps in your notification preferences, the incident will remain triggered until someone sees it in the UI and takes action.
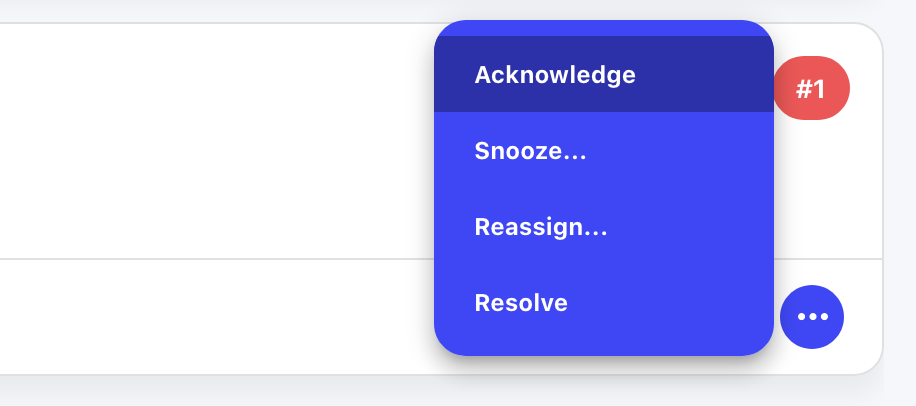
Acknowledge an incident
When an incident is assigned to you, you will be notified based on your personal notification preferences. We follow the timing rules defined in both the escalation policy and your notification preferences to continue notifying until action is taken.
Acknowledging an incident indicates that you've seen the issue and are working on it. Doing so will pause further notifications for that incident for 20 minutes.
Snooze an incident
Sometimes now just isn't the time to resolve the incident. You know about it, but it's not important enough to fix now and you don't want notifications to start again after 20 minutes, so acknowledging is not sufficient.
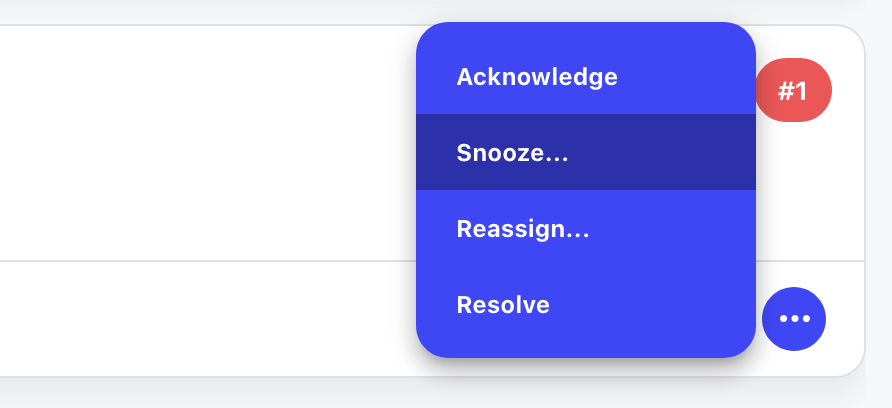
Snoozing an incident pauses notifications for the timeframe that you specify. Choose "Snooze..." from the more (...) button.
Select the desired time that you want to elapse before re-triggering.
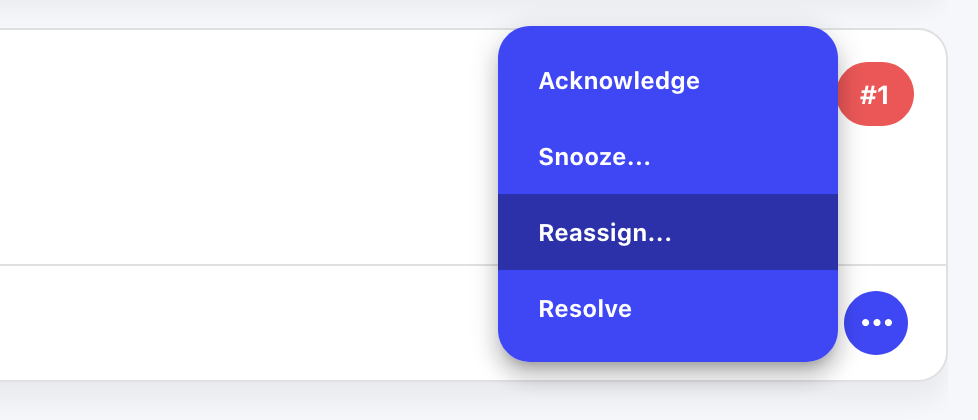
Reassign an incident
If you are assigned to an incident but are not the right person or team to accept it or have done all your can and need to send it to someone else, you can re-assign it to any other team's escalation policy or any other individual.
Doing so will stop all notifications to you or your team and begin sending notifications to the newly assigned team or user.
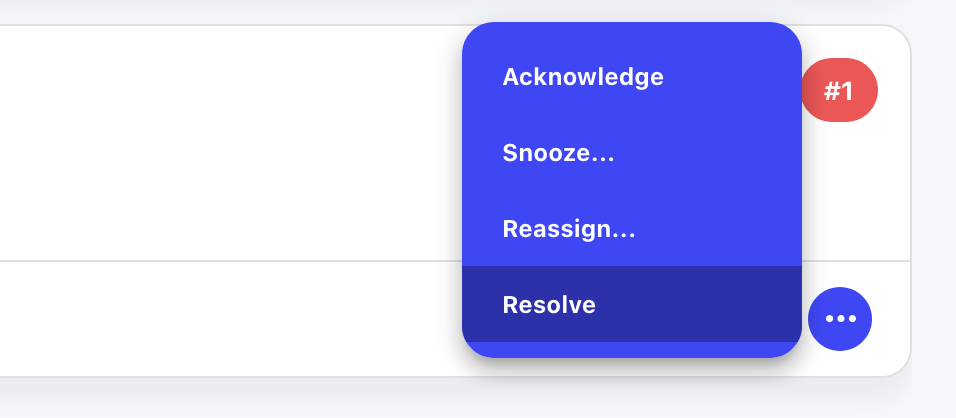
Resolve an incident
When all required action has been taken on an incident, it can be resolved. Resolving an incident will permanently halt all notifications and make the incident read-only. Additional action must take place in a new incident.
Many integrations send events that will automatically resolve incidents, which has the same effect.
Redact an incident
It's not possible to fully delete an incident. However, there are circumstances where the details included in an incident contain sensitive information or were published to the incident details unintentionally. For these rare cases, it's possible to redact an incident. Redact functionality is available to account owners and administrators.
Redacting an incident will permanently delete the incident title and details and will also permanently delete the data from all integration alerts that are associated with the incident.
Incident participant touches remain, so you can still see your team's timeline and response to the incident.
Incidents must first be resolved before they can be redacted.
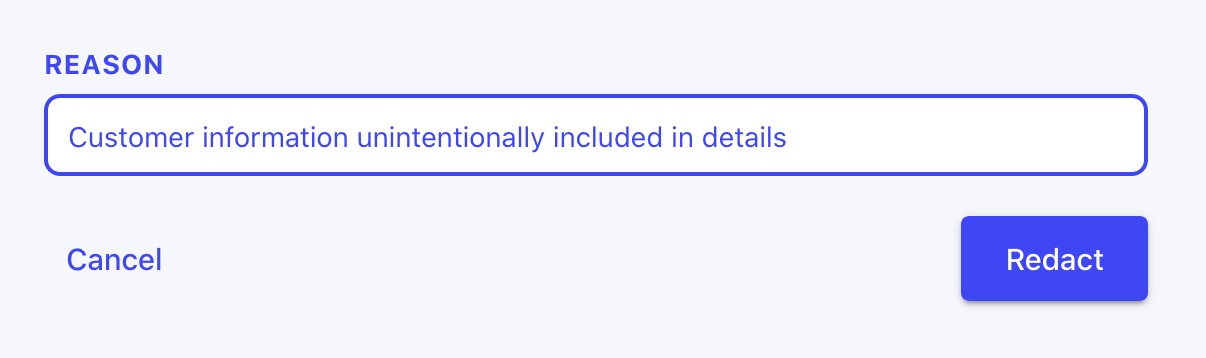
To redact a resolved incident, click the more (...) button next to an incident and choose "Redact...".

On the following screen, optionally enter a reason for the redaction and click "Redact".