Adding and Removing Users
Invite new users
From the user invitations screen, you can invite others to join your account.

You can invite one user at a time by entering their email address and specifying their account level role. We'll send them an email they can use to accept and setup their account. Once they accept, you can begin adding them to teams, scheduling their shifts, and they can configure their contact methods and notification rules.
Each active user in your account contributes to the active user count used for billing. Learn more about how users are billed.
Deactivate users
Account owners and administrators can deactivate users in your account at any time. Deactivating will retain all past data involving the user, but will prevent them from logging in and will remove them from any teams, schedules, shifts, integrations, and open incidents.
Deactivating a user will also remove them from the active users count used for billing. Learn more about how users are billed. You can reactivate users at any time, but will need to manually add them back to any teams.
Reactivate users
Data is retained for deactivated users as long as the account is active and they can be reactivated at any time. To find a deactivated user, search for them by name in the user search field on the users page, then click "View Deactivated Users".
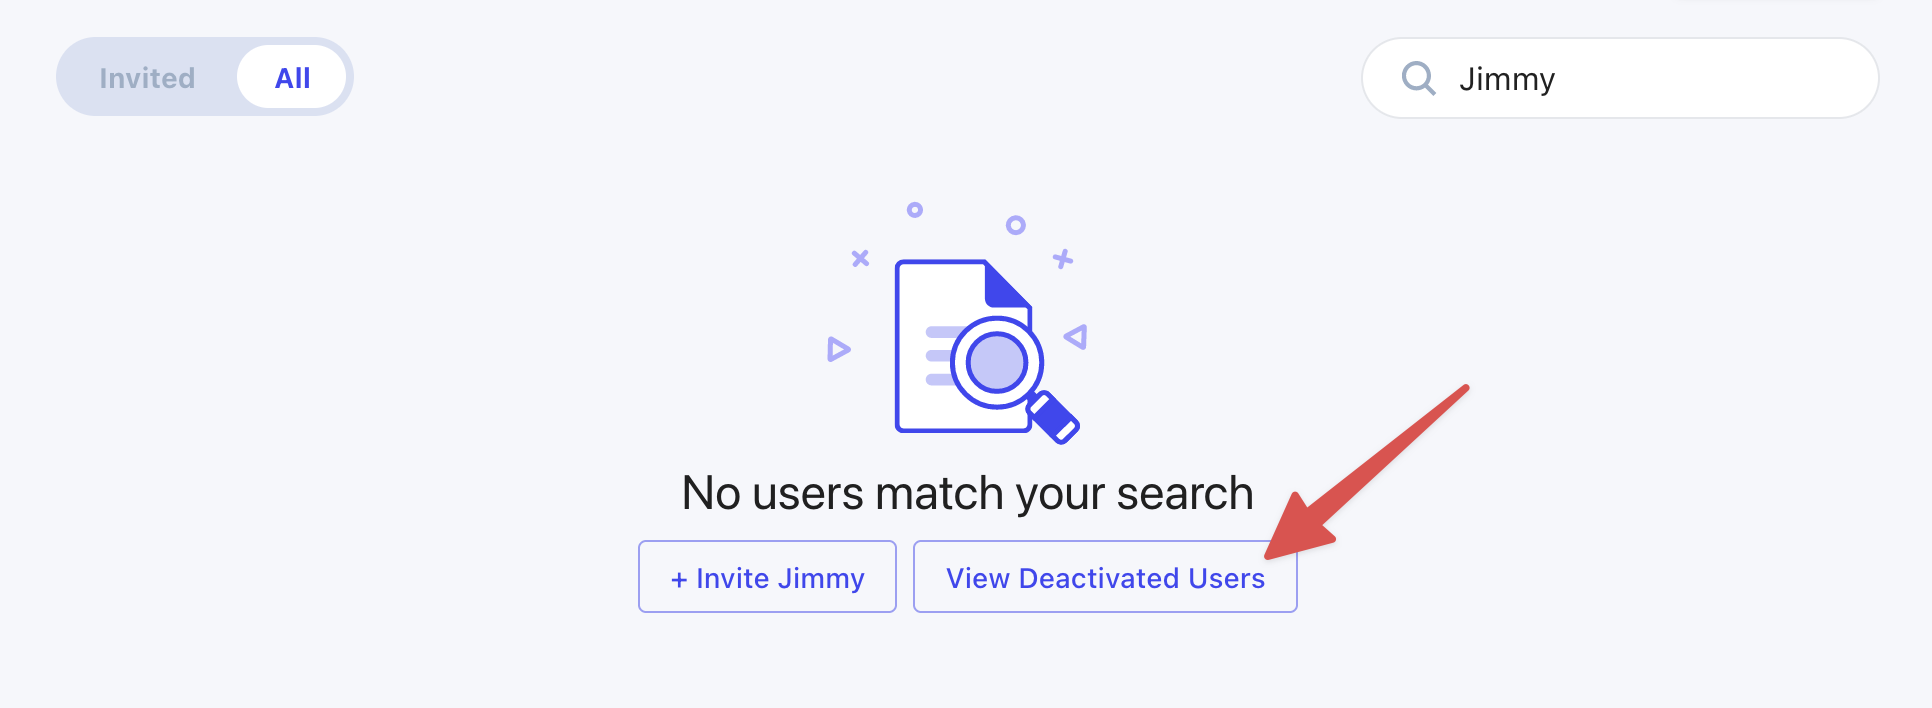
You can then click on the desired user and reactivate them.
You must be an owner, administrator, or team administrator in order to have permissions to reactivate users.