Datadog Integration
Datadog provides monitoring and incredibly detailed alerting of all your infrastructure. This guide will show you how to configure Datadog to send critical alerts to your Ready Five account so they create incidents and escalate to your team appropriately.
Create the Ready Five integration
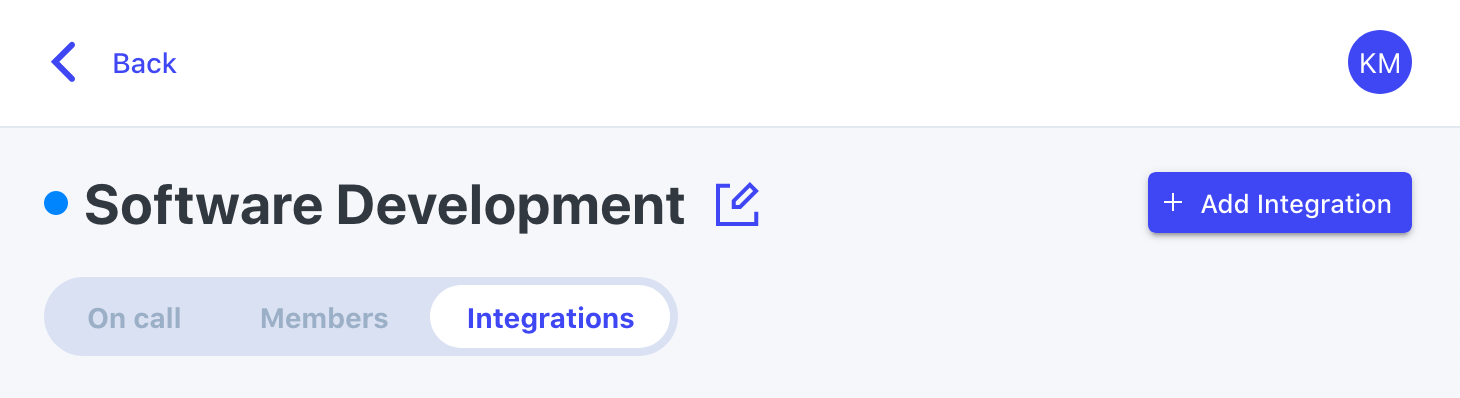
In your web browser, navigate to the "Integrations" tab in the team that should own this integration and click the "Add Integration" button.
For the integration type, click the "Add" button in the Datadog box.
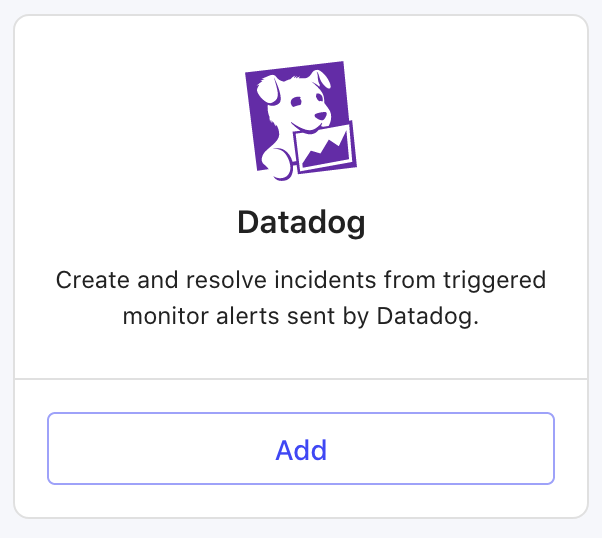
Give the integration a name (or keep the default) and an optional description and click "Add".
The integration is now created, and you now have a URL on this screen that you'll need in a minute. Keep this tab open and open another.
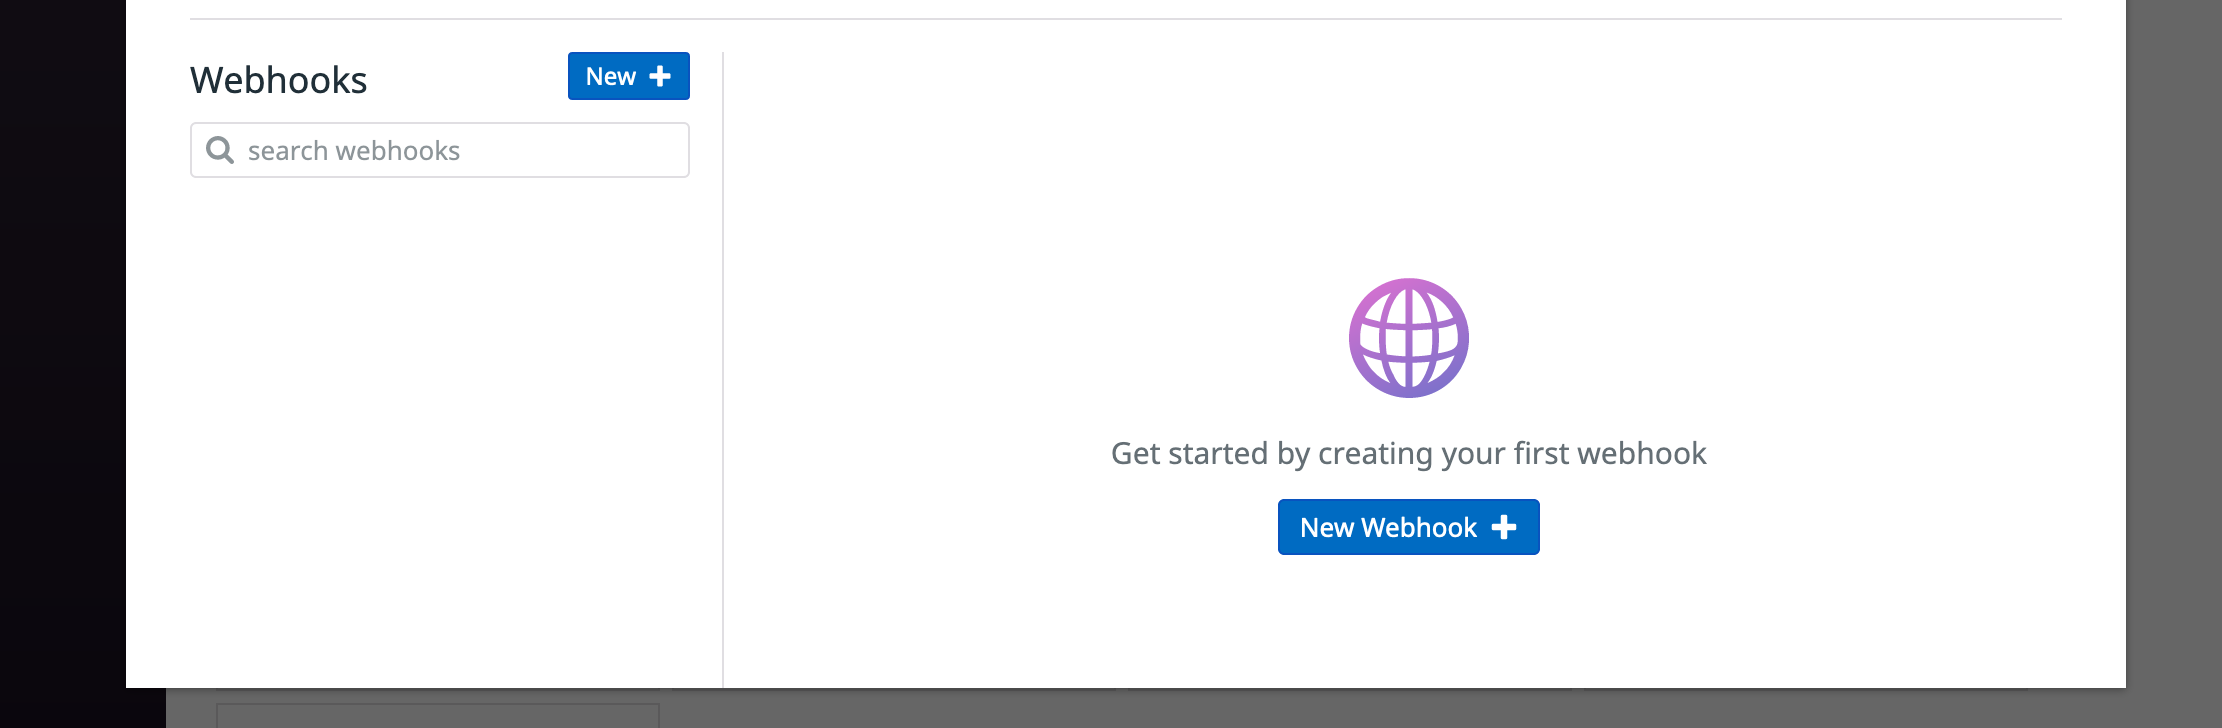
Add the webhook in Datadog
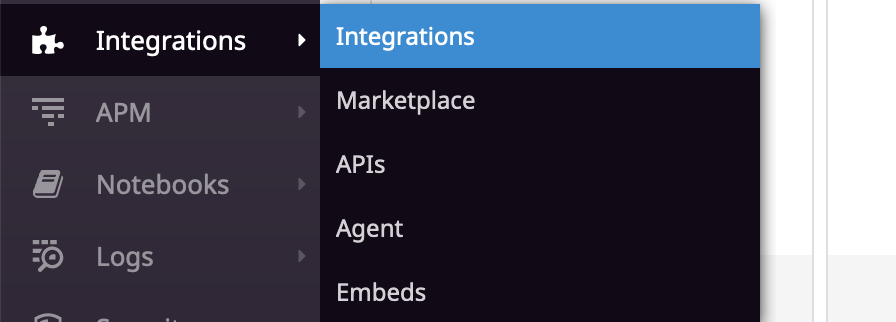
Open the Integrations page in your Datadog account.
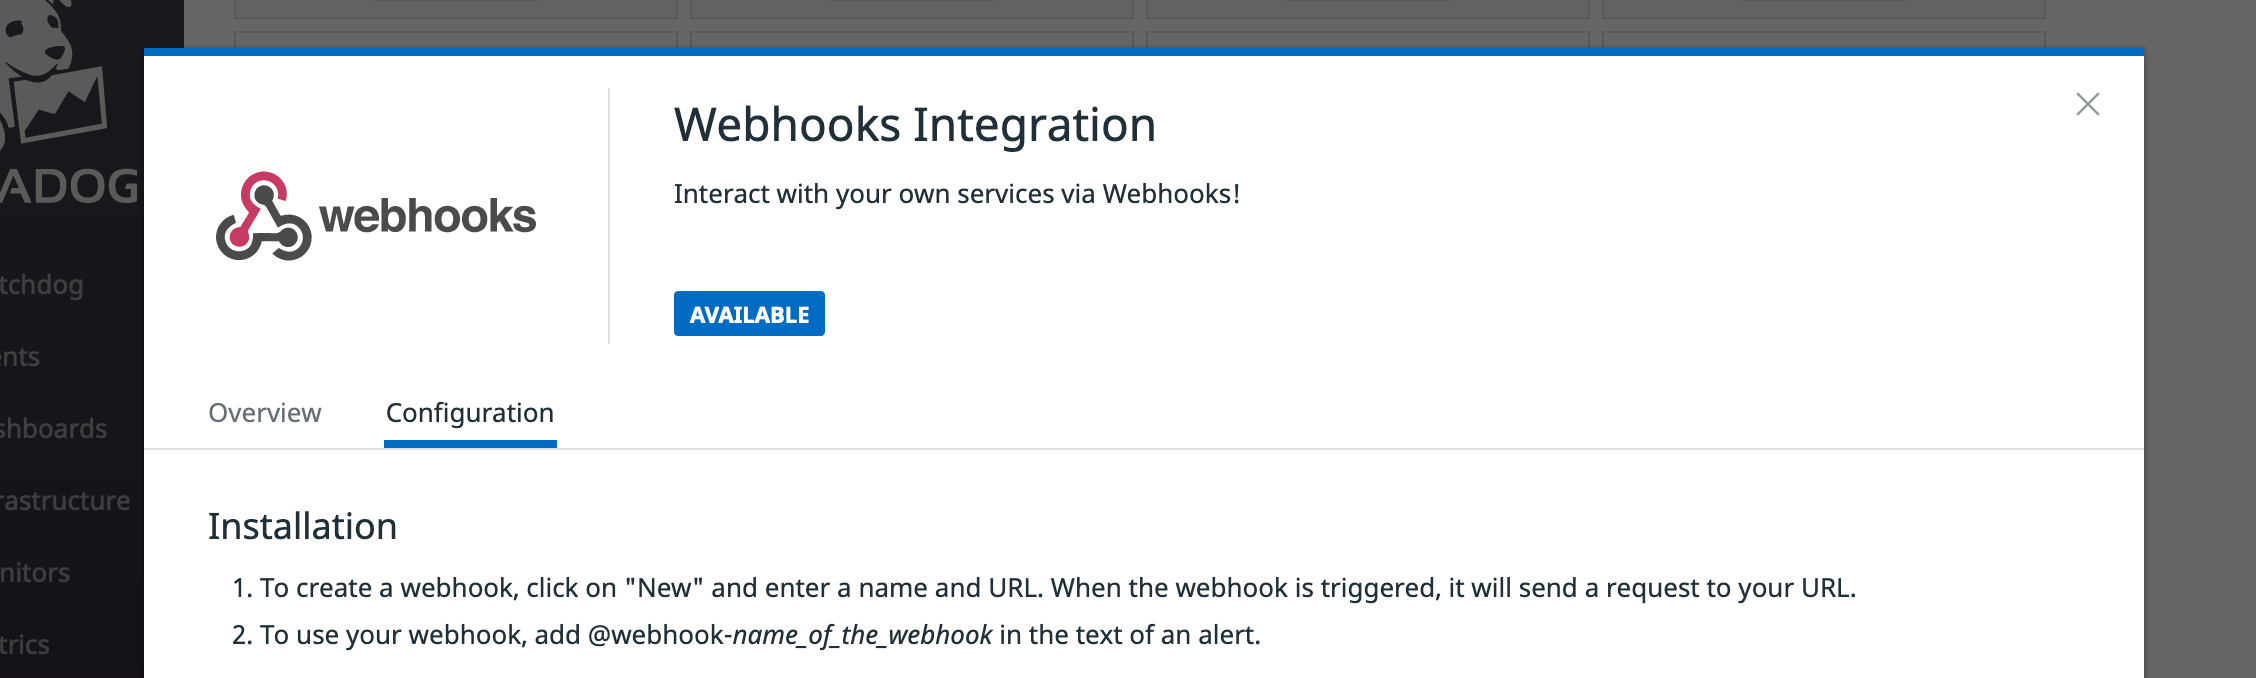
Scroll down to the "Webhooks" integration and click the "+ Available" button.

Here's a direct link, but we showed the steps above to get there so you know where it is.
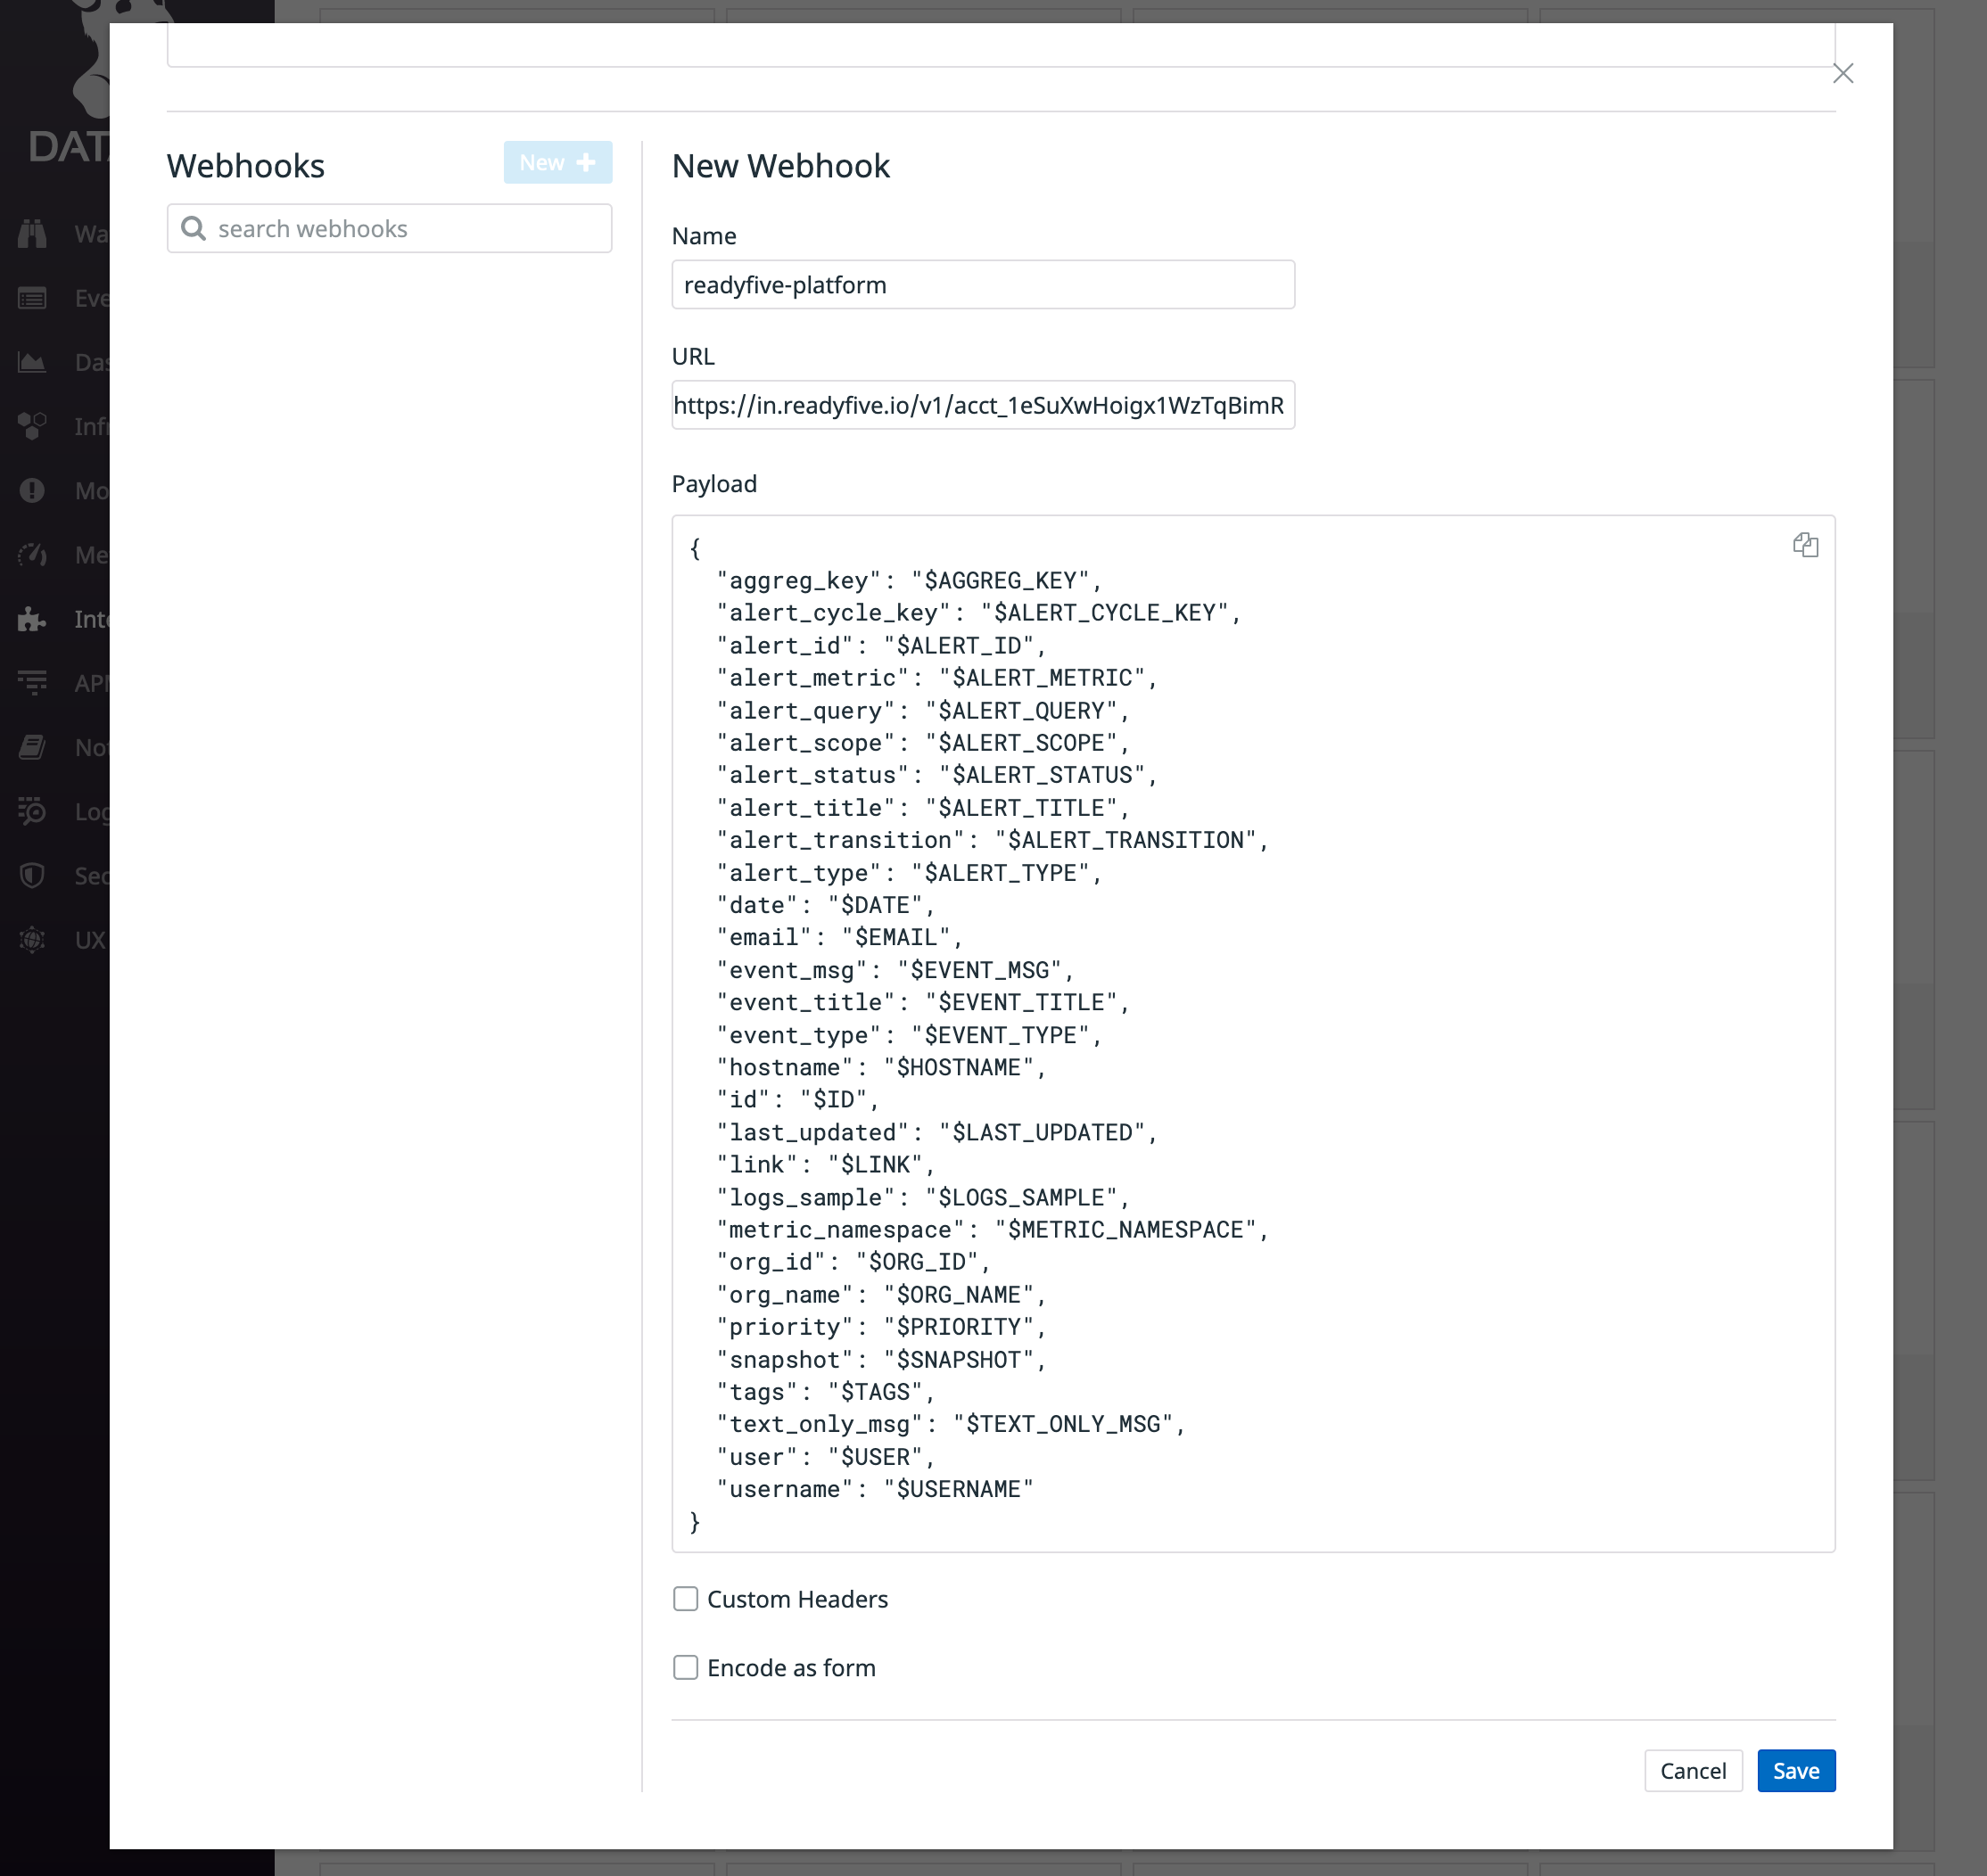
Click the "New Webhook +" button.
For the Name field, we recommend specifying readyfive-yourteamname. Since it's possible to have multiple Datadog integrations in your account, this allows you to target particular team integrations when configuring your Datadog alerts. When targeting this webhook from definitions throughout Datadog, you'll use @webhook-readyfive-yourteamname. More on that below.
For the URL field, paste in your integration URL.
Lastly, copy and paste the following snippet in the Payload field to ensure we receive all relevant alert data. Make sure you include the curly braces ({ and }) on either end.
{
  "aggreg_key": "$AGGREG_KEY",
  "alert_cycle_key": "$ALERT_CYCLE_KEY",
  "alert_id": "$ALERT_ID",
  "alert_metric": "$ALERT_METRIC",
  "alert_query": "$ALERT_QUERY",
  "alert_scope": "$ALERT_SCOPE",
  "alert_status": "$ALERT_STATUS",
  "alert_title": "$ALERT_TITLE",
  "alert_transition": "$ALERT_TRANSITION",
  "alert_type": "$ALERT_TYPE",
  "date": "$DATE",
  "email": "$EMAIL",
  "event_msg": "$EVENT_MSG",
  "event_title": "$EVENT_TITLE",
  "event_type": "$EVENT_TYPE",
  "hostname": "$HOSTNAME",
  "id": "$ID",
  "last_updated": "$LAST_UPDATED",
  "link": "$LINK",
  "logs_sample": $LOGS_SAMPLE,
  "metric_namespace": "$METRIC_NAMESPACE",
  "org_id": "$ORG_ID",
  "org_name": "$ORG_NAME",
  "priority": "$PRIORITY",
  "snapshot": "$SNAPSHOT",
  "tags": "$TAGS",
  "text_only_msg": "$TEXT_ONLY_MSG",
  "user": "$USER",
  "username": "$USERNAME"
}
It should look like the following. Hit "Save".
Configure Datadog monitors to notify Ready Five
See the Datadog monitor documentation to learn how to create and manage monitors in your account and you can add a new one here.
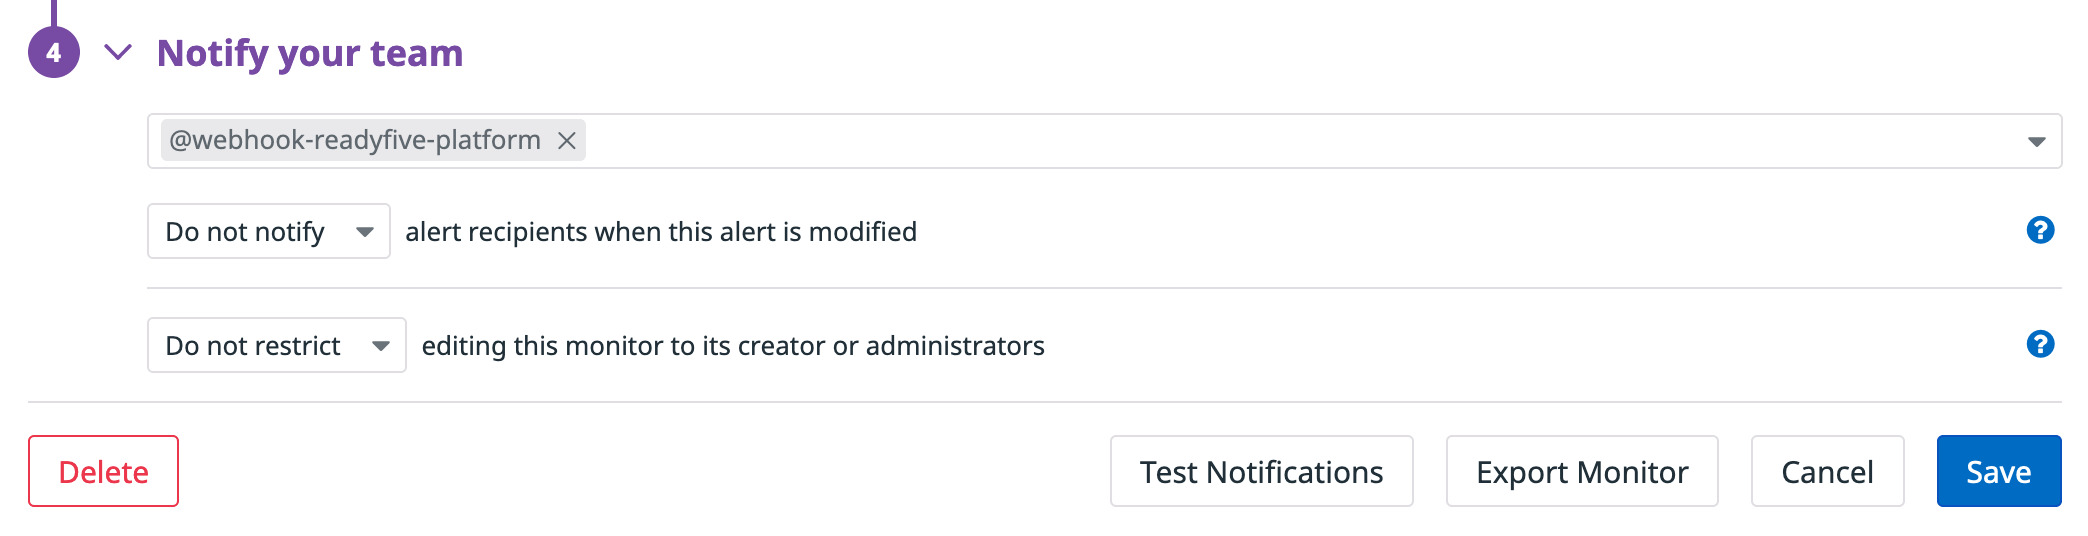
Each monitor in Datadog allows you to notify any number of targets in the "Notify your team" section when creating a new alert.
For any monitor that should notify a team's Ready Five integration, add the @webhook-readyfive-yourteamname (it should autocomplete) and save the monitor.
When the monitor breaches its threshold, an Datadog will send the alert to Ready Five and create an incident. When the monitor recovers and is no longer breaching, another event will be sent to Ready Five and the incident will be resolved.